DIY Outdoor Kitchen Countertops
- Marite

- Aug 5, 2022
- 3 min read
Updated: Jan 23, 2024
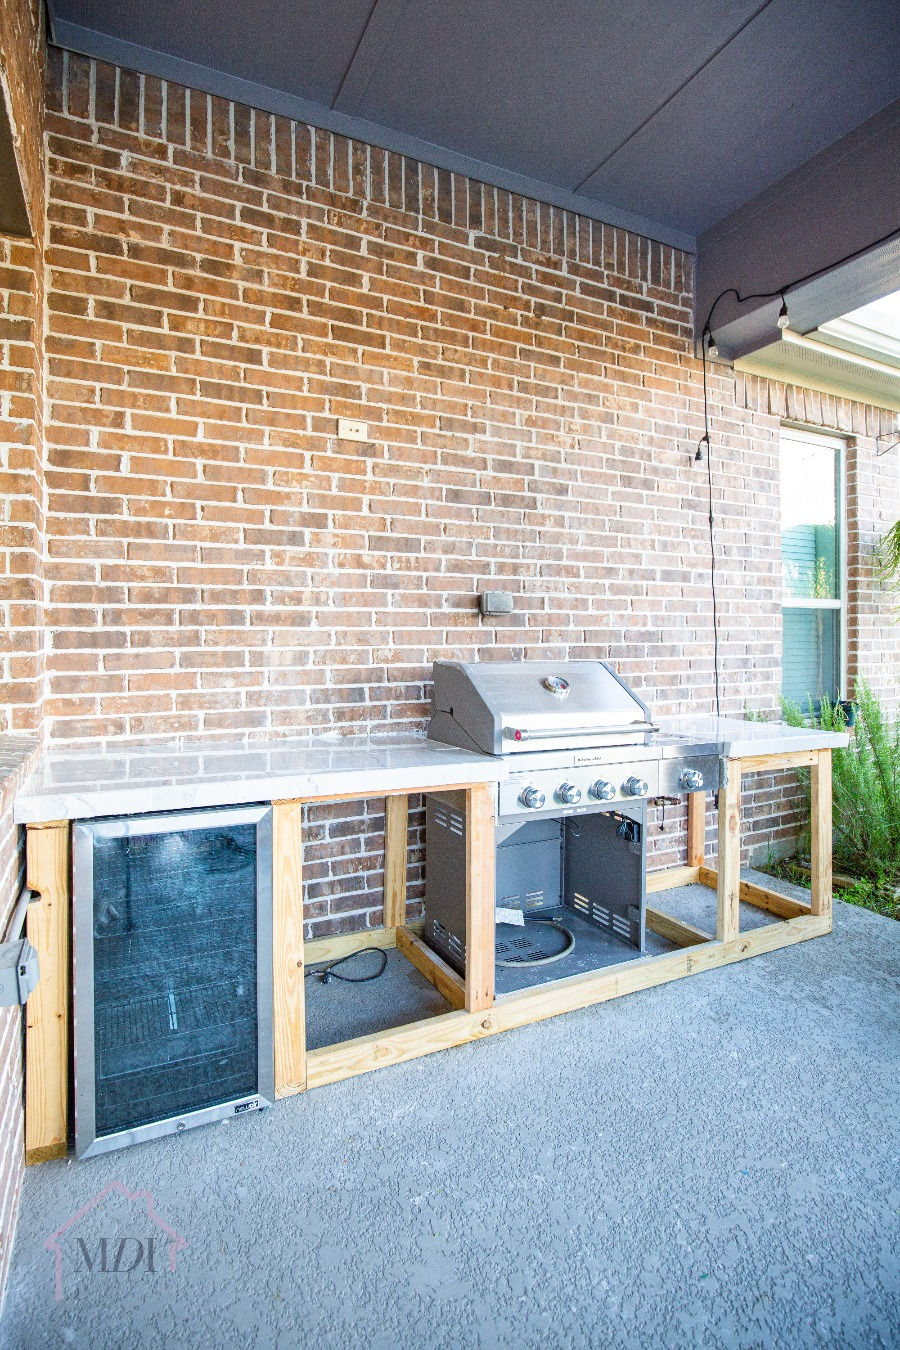
Now that the frame is ready (you can read about the frame here). We’re ready to move on to the next step: the countertop.
Now, there’s DIY outdoor kitchens with a variety of countertop materials. The main contenders were tile, stone, and concrete countertops.
The reason I ended up going with tile countertops is because I felt more comfortable with the process, because of the how easy they are to clean and maintain, and because of the cost.
Affiliate Links have been used in this post. The purchase of these products are at no additional cost to you and help me support my family and business
I went with big, 12x24 inch tiles to have as little grout as possible. Less grout = easier cleanup. There’s many different colors and patterns but this marble looking one was the winner for me!
I started by cutting pressure treated 3/4in plywood to use as the base. I secured it using the same type of screws I mentioned in my frame post, I just used a shorter length.
The next part is something I should’ve done but I learned about it too late so I skipped it. So consider it a “do as I say, not as I do” type of thing.
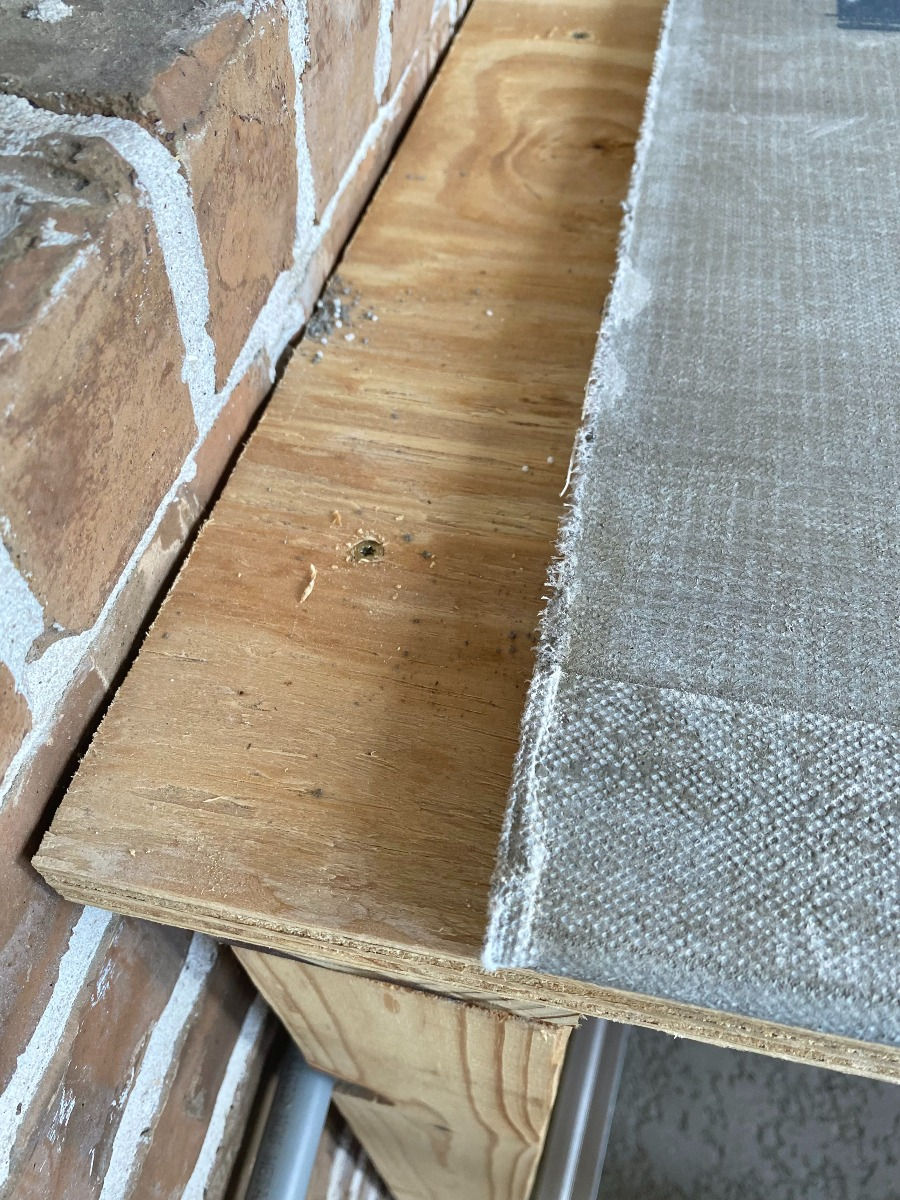
You want to cover the plywood with mortar before attaching the cement board that goes over it.
I skipped the mortar and screwed the cement board straight to the plywood with cement board screws. I did use more than enough screws, so I don’t think it’s going anywhere but consider yourself warned.
Note: you don’t want to skip the cement board. If you lay tile on the plywood, the moisture from the mortar will warp the plywood and you’ll end up with wonky countertops. It’s not a good look.
I used my jigsaw with a concrete blade and I was able to cut the cement board so easy! You can also use a utility knife to score it and then break your pieces.
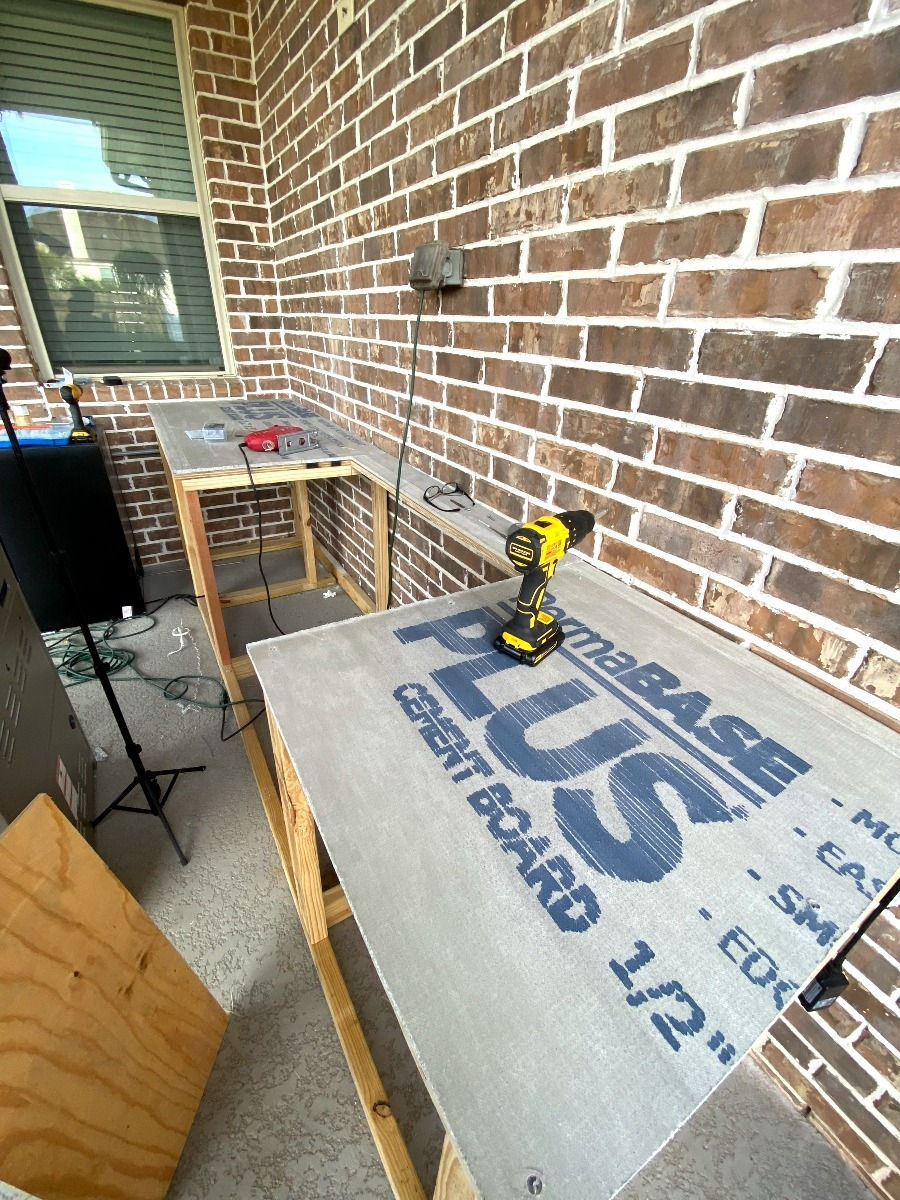
After that comes the messy part: laying tile. Like I said, my tiles were on the big side so that means that I had to use mortar specifically made for large tiles, as well as a wide gap trowel.
If you’ve never laid tile before, or are not very experienced with the process, I recommend not to get ahead of yourself and only spread enough mortar for a tile or two at a time.
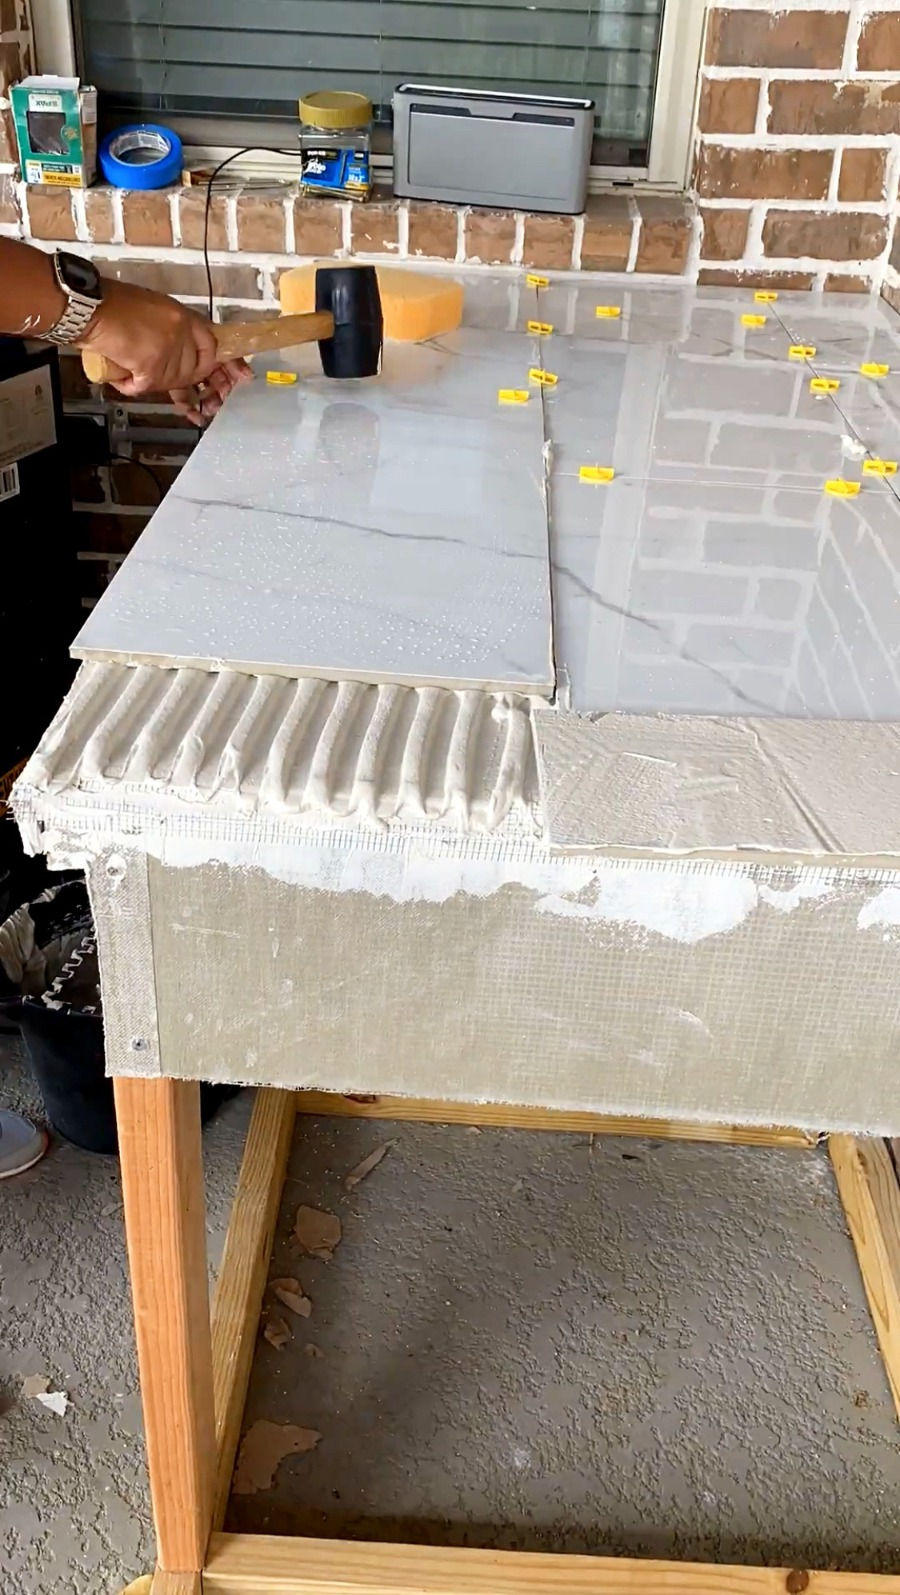
The process was pretty straightforward: apply the mortar and make the notches with your trowel, “back butter” your tile, and position it.
Back buttering:
“Back buttering” tiles refers to spreading a thin layer of mortar on the back side of the tile. This ensures a strong adhesion to the surface.
After back buttering tile, you always want to give it little taps on the surface to make sure the mortar and tile are touching throughout the whole surface.
Tile Spacers:
Having easy to clean countertops was a must, so that meant having as little grout as possible. I chose these tile spacers, but if I could do it all over again, I would choose self leveling spacers like these ones that use wedged like these. They would have made it a lot easier to make sure all the tiles were perfectly level.
Tile countertop edges:
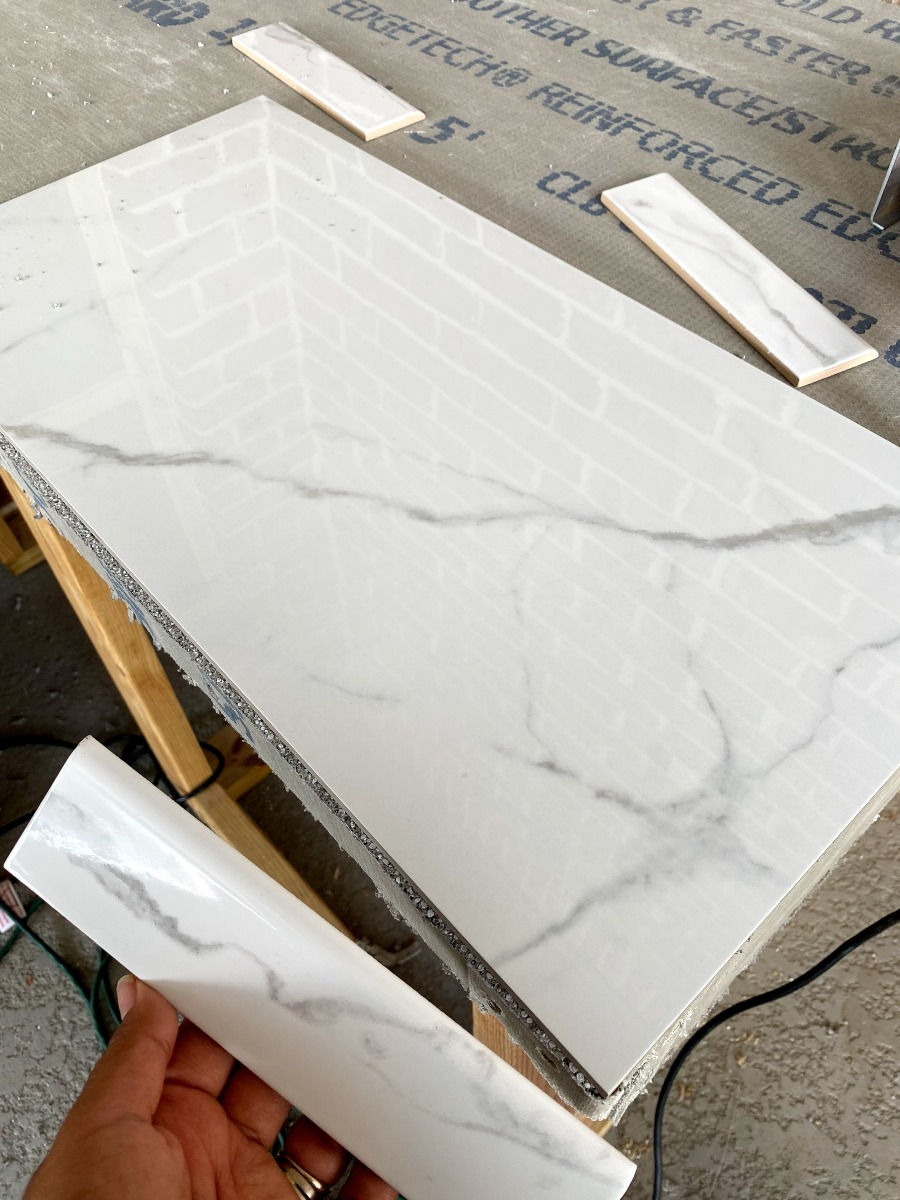
I used this smaller format tile for the edges and followed the same process as the countertop part. As you can imagine, gravity makes the tiles slide down on the wet mortar, so I held them in place using painters tape until the mortar was dry the following day.
Grout:
After waiting the recommended mortar drying time. It was time to apply grout! The type of grout will vary according to how big is the gap between tiles. For my DIY countertops, I used this one. You will need a rubber float to apply it, as well as a sponge for cleanup.
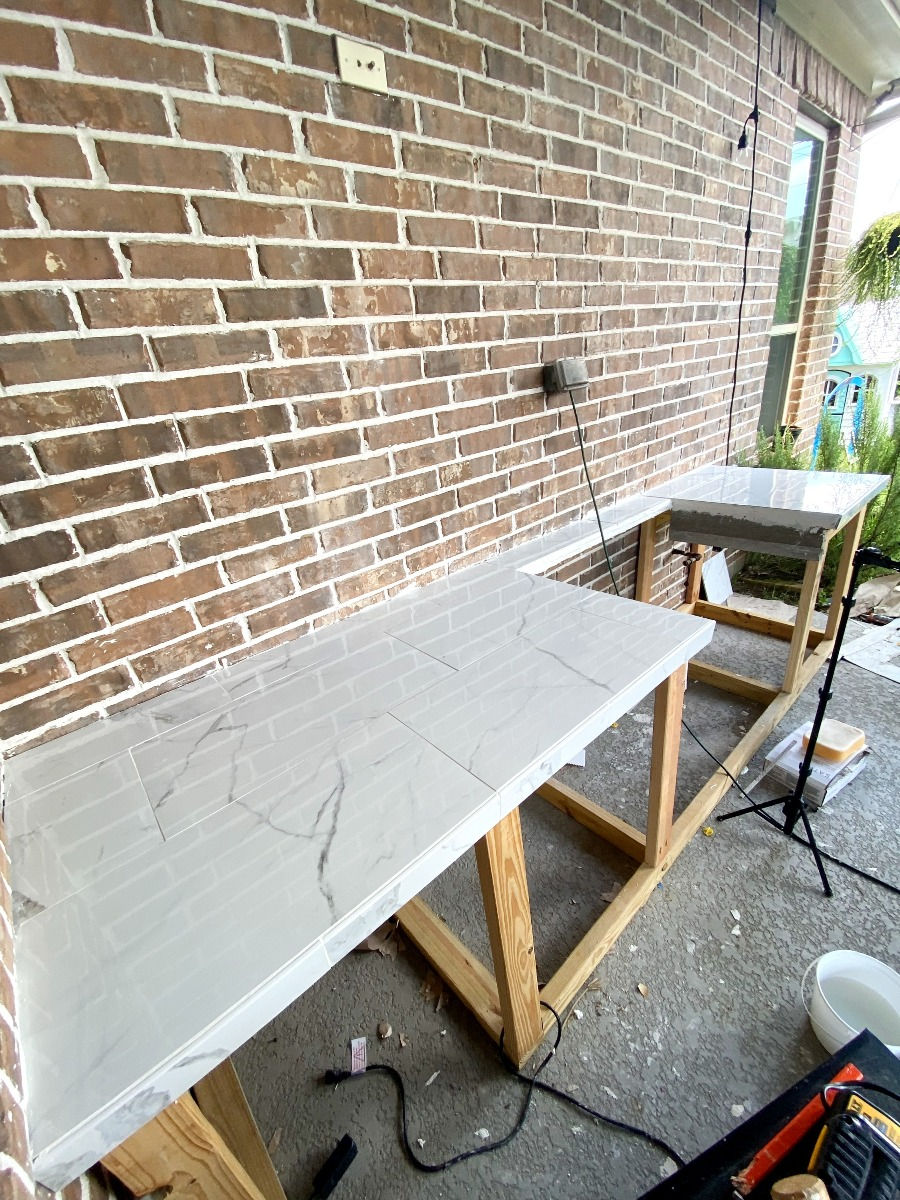
Using the float, I scooped some grout and applied it making sure I got it in all the grooves. Then, after 15 minutes, wipe all the excess using a damp sponge. You want to make sure you wring it well and wipe without putting too much pressure on the fresh grout. If you can still see a haze, you can rinse the sponge and wipe again.
Silicone caulk:
If your countertops are right next to a wall, the final step is to seal all spaces where the countertops meet the walls. I made sure to use outdoor grade caulk for the best seal.
That’s it for the DIY tile countertops! I won’t lie, this step was kind of tedious (not to mention messy). But it’s not difficult! And doing it the right way will ensure an even surface and a professional looking result!
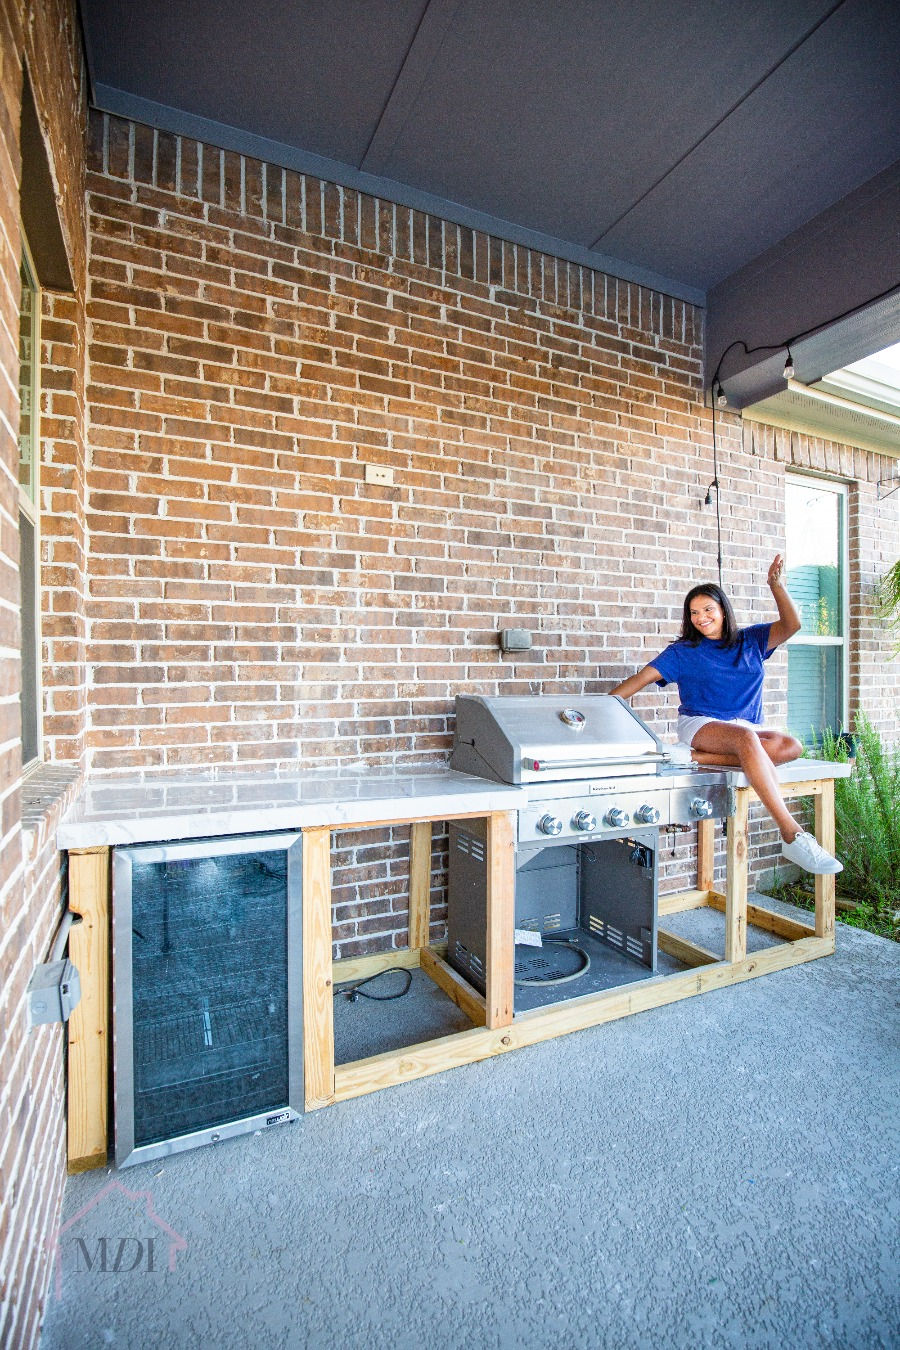
Up next: cabinet interiors and trim.


The DIY countertop idea looks awesome, especially for outdoor setups. I recently came across HexClad reviews, and it’s funny how much the right materials matter in both cookware and construction. Whether it’s heat resistance or durability, investing in quality surfaces saves a lot of effort later and keeps everything functional longer.
Great project! I recently built my own outdoor countertop and found it surprisingly rewarding—kind of like baking your favorite cake but with concrete and tiles! After mixing and leveling the base, I topped it with sleek, weather-resistant tiles that sparkle in the sun. My partner joked it’s now our "patio bistro"—complete with afternoon tea and storytelling. I even borrowed some layout ideas from wren kitchens —their styling tips helped me choose a clean, balanced tile pattern that’s both practical and pretty. A few hours of effort transformed our yard into a gathering spot where grilled dinners and backyard laughter happen on repeat.